To Manage Product and Services on QuickBooks and AgriChain
1. Consider the below screenshot as the Quick Books Dashboard.
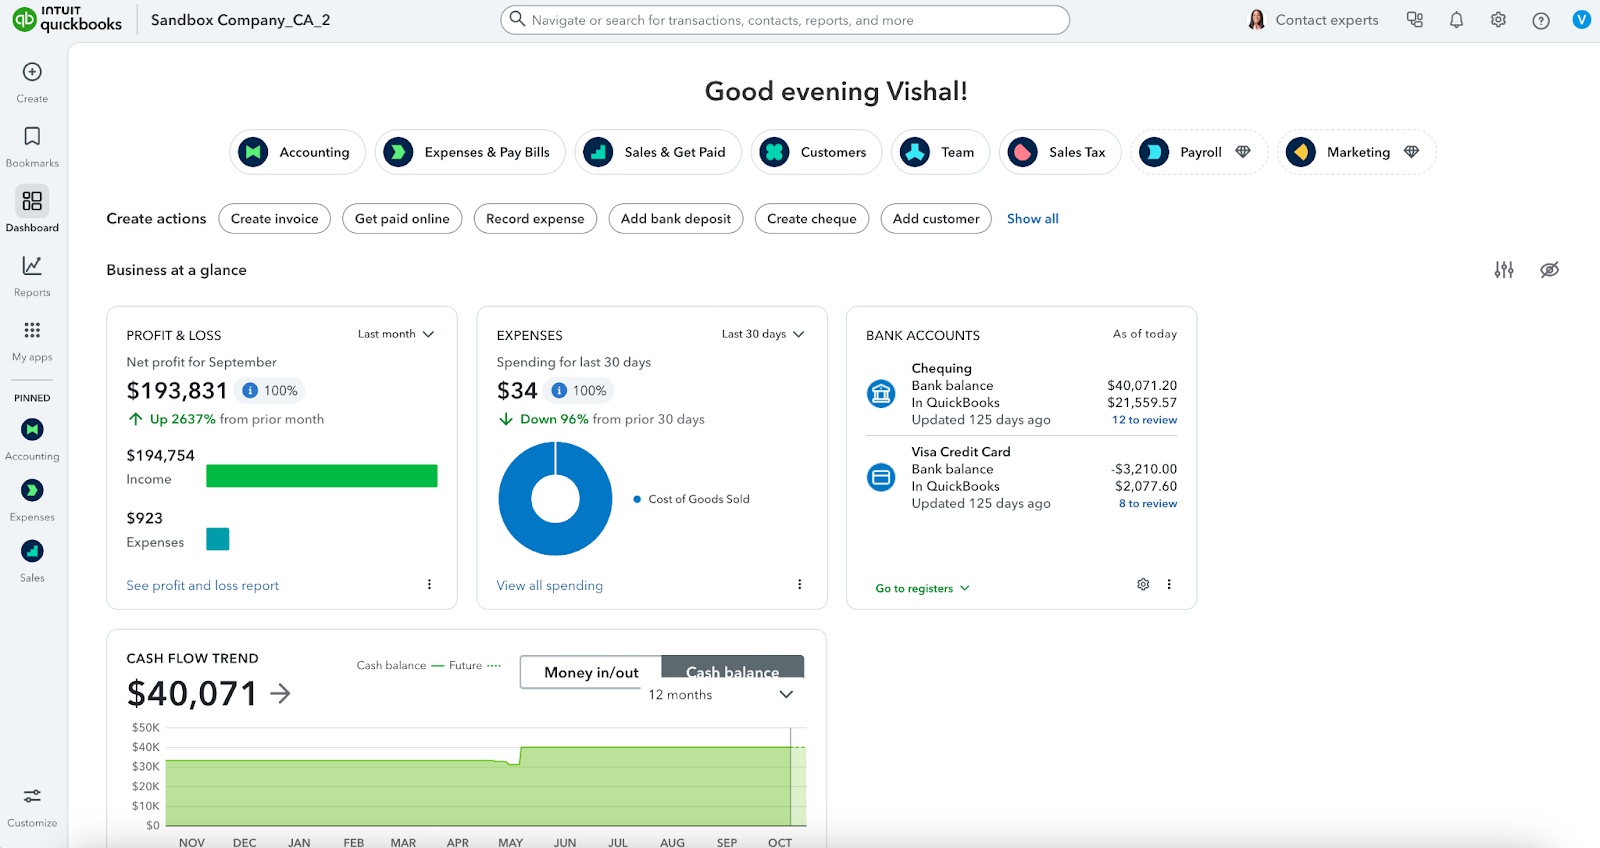
2. Ensure that the QuickBooks account integration is enabled with AgriChain.
3. Once the integration is enabled, to map QuickBooks accounts in AgriChain, navigate to the QuickBooks Dashboard >> Click on Gear Icon in the header >> Products and Services.
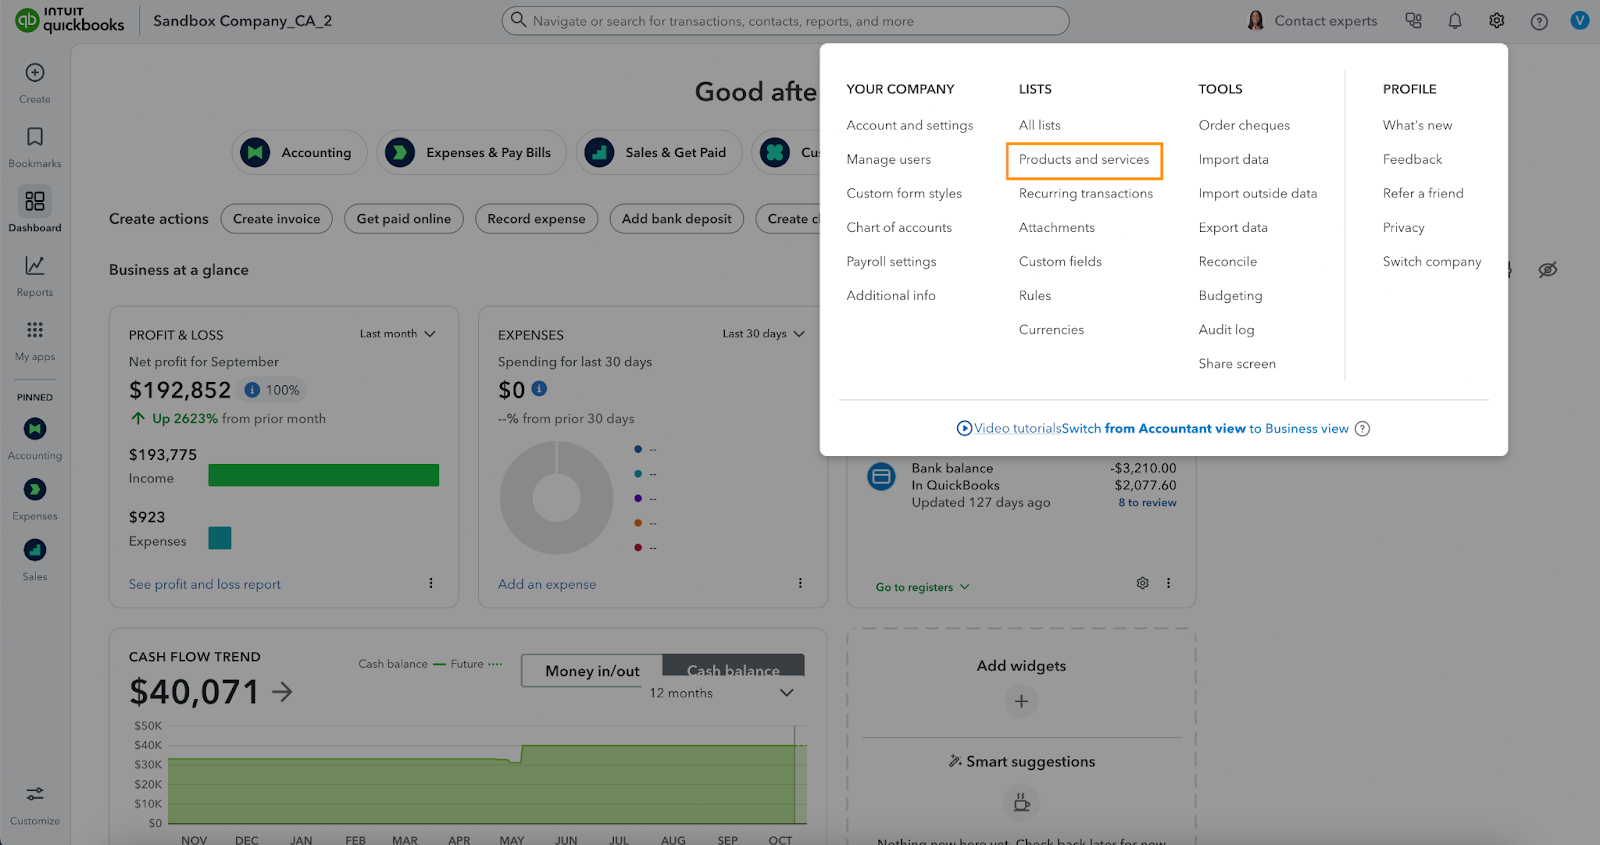
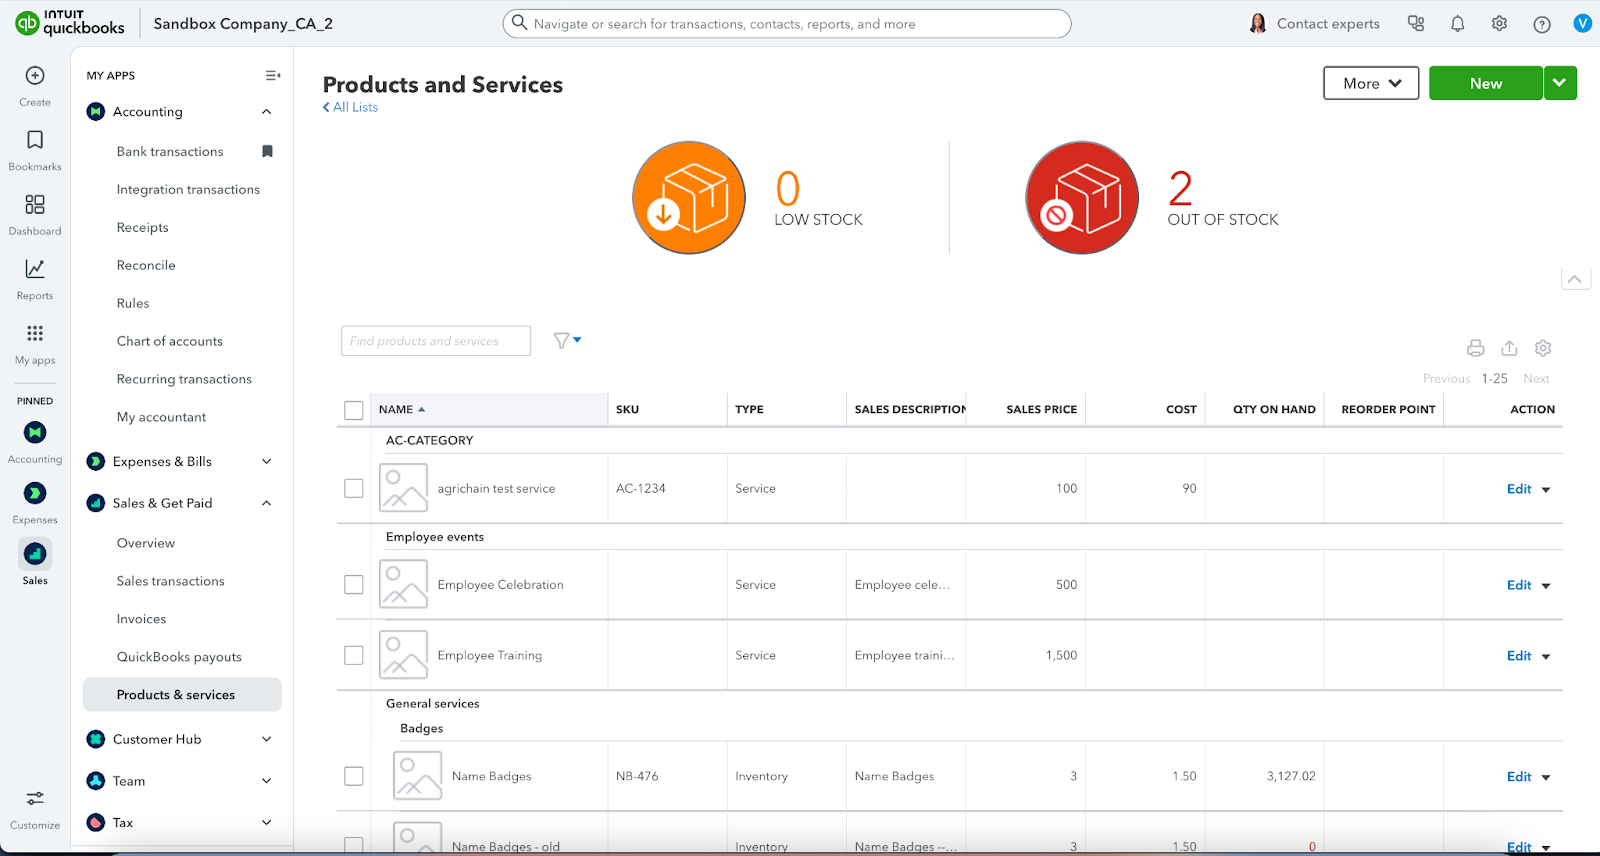
4. You can view the list of different accounts.
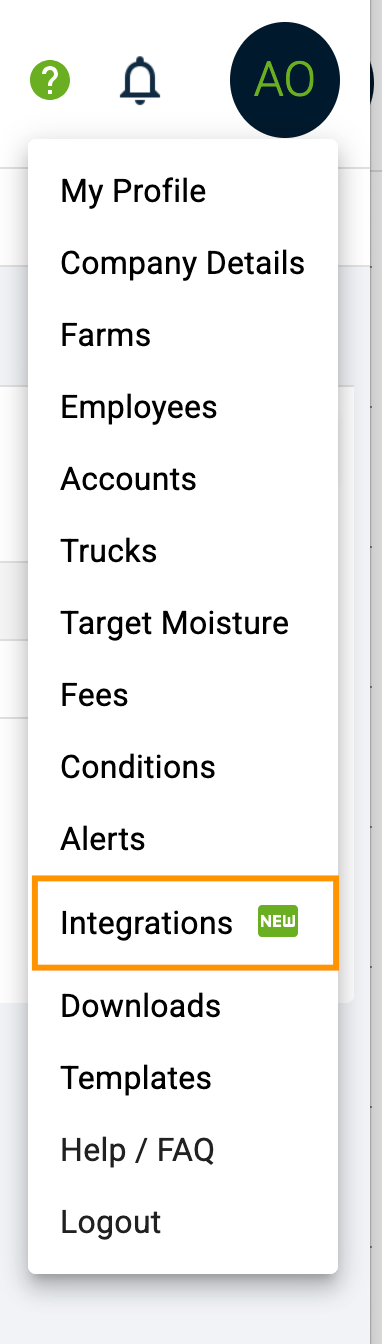
5. Navigate to AgriChain Dashboard and Go to profile menu and click on Integrations.
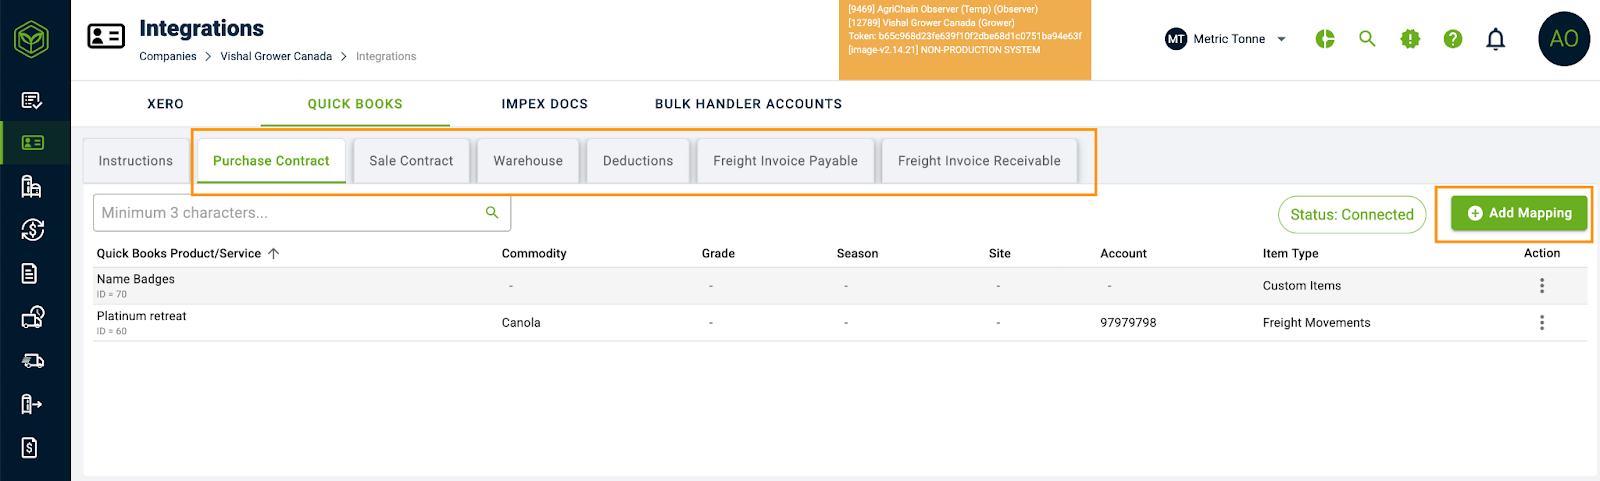
6. If the QuickBooks account is successfully linked and synced with AgriChain, then status will be Connected. Below which the product and services needs to be mapped.
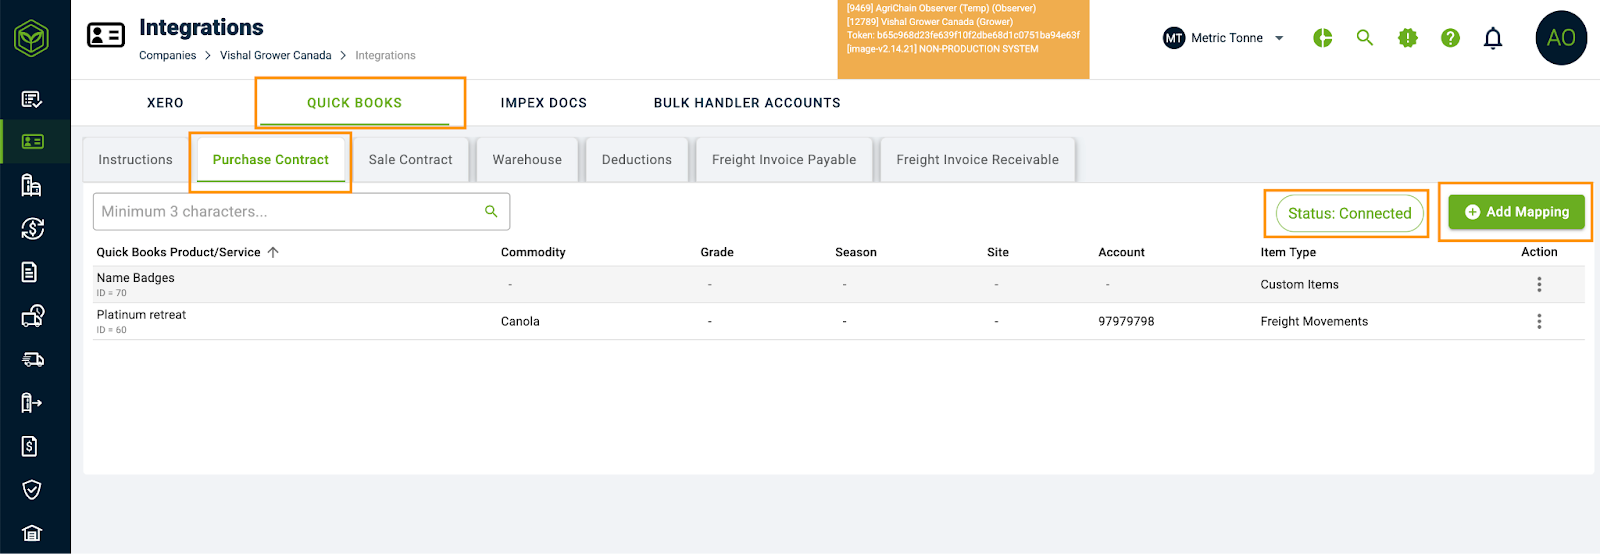
7. You can view the different contract types on the left side under Quick Books, which were created during the initial setup. To add a Quick Books product/service under a Purchase Contract click on Add Mapping
8. Choose the specific detail in each fields to setup and then click on Create

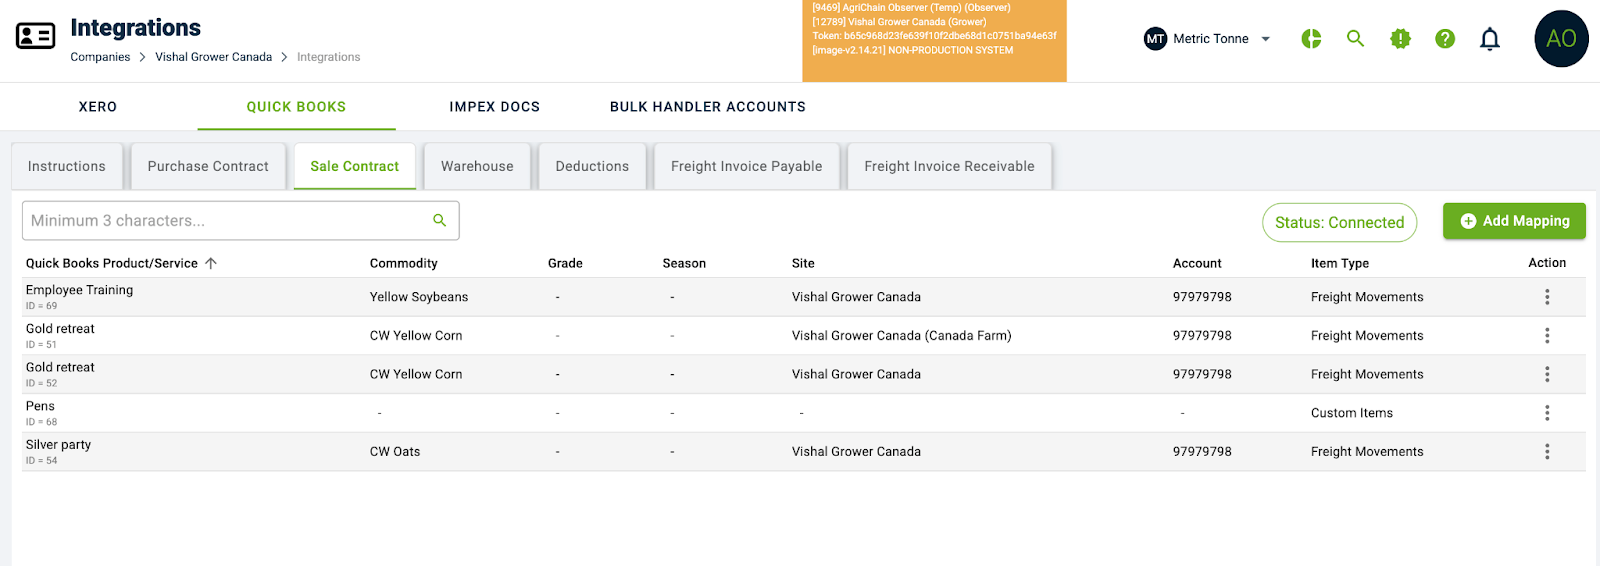
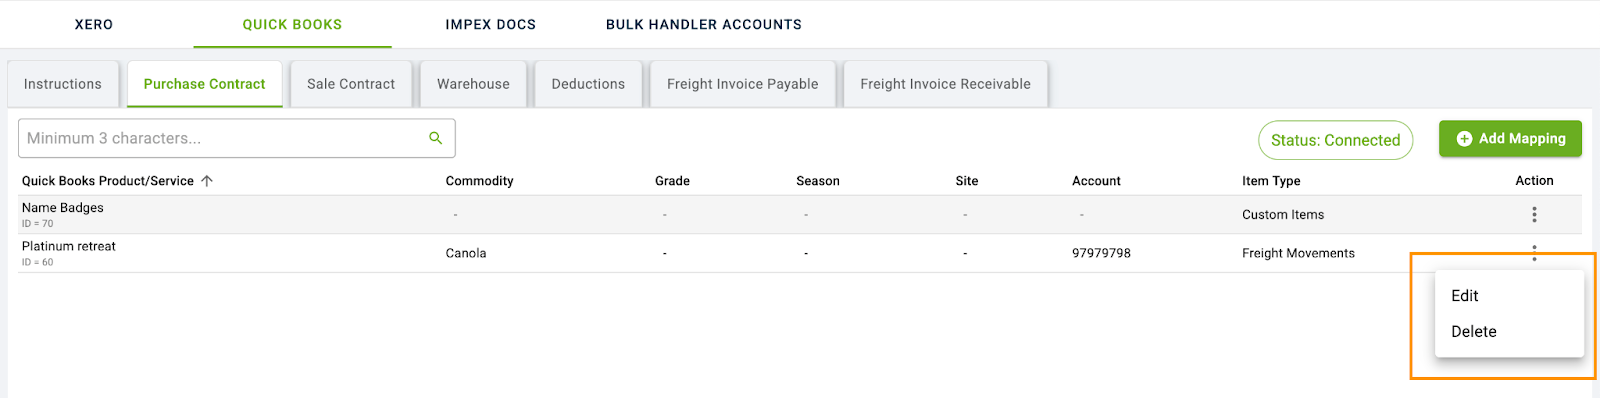
9. Once the Accounts are created, you can view the list under Purchase Contract.
10. You can Delete or Edit the mapping using 3 dot menu against each Accounts
Troubleshooting Counter party does not exist as contact on Quick Books
If you are having issues creating invoices with QuickBooks due to an error saying "Counterparty does not exist as contact in Quick Books", please try these troubleshooting steps below.
1. Check the Customer Display Name of your counterparty in Quick Books. It must not have any spaces and the Customer Display Name must match exactly on AgriChain.
2. Unlink your QuickBooks connection with AgriChain and resync invoice. To do that, please follow the steps below:
Navigate to Integrations from the Profile menu.
Go to the Quick Books tab, where you should see the option to Unlink Account.
First, Unlink the account and then Relink it.
Once the relinking is completed, go back to the respective invoice and sync it using the three-dot menu.
00:00: In this video, we’ll walk you through how to connect QuickBooks with Agrichain so you can manage your invoices more easily and keep everything in sync across both platforms.
00:10: Before getting started, please make sure that QuickBooks integration is enabled for your account.
00:15: If it isn’t, just contact our support team and they will enable it for you.
00:19: To access the integration settings, click on your Profile icon.
00:24: Click on Integrations. This will take you to the integrations section.
00:29: Click on QuickBooks to start setting up the integration with your account.
00:33: Switch to the developer.intuit.com site to manage your QuickBooks app settings.
00:39: Click My Hub to access your developer workspace and applications.
00:45: Click Workspaces to view and manage your workspace.
00:49: Click on Sample Workspace, which is selected as the default workspace, or create a new one if needed.
00:54: For this example, I will continue with the default workspace.
00:59: Click on the Add button to create a new QuickBooks app for integration.
01:04: Click get started to proceed with setting up your application.
01:08: Click the app name field to specify your applications name.
01:12: Enter a name for your application so you can easily identify it in the QuickBooks developer portal.
01:17: For this example, I’m entering Agri Test.
01:21: Click next to continue, configuring your app settings.
01:25: Click the checkbox for the Accounting API to enable the necessary permissions and allow access to accounts.
01:32: Click the checkbox for the Payments API to grant the required permissions and enable access for collecting and managing payments.
01:40: Click done to finalize your API permission selections.
01:44: Click confirm to save your app, configuration and proceed.
01:48: Click Open app to access your newly created QuickBooks integration app.
01:53: Select Settings to set up your application details and configure redirect URLs.
01:59: Select Redirect URLs to configure and manage your authentication callback URLs.
02:06: Switch to the Agrichain platform to access the required redirect URL, then click Copy to copy it for QuickBooks app configuration.
02:15: Switch back to developer.intuit.com to add the redirect URL to your app.
02:21: Click Add URL to input a new redirect URL for your application.
02:27: Click here to activate the field for entering the redirect URL.
02:32: Enter the redirect URL here
02:35: Click Save to store the new redirect URL in your app settings.
02:40: Click keys and credentials to view your apps authentication details.
02:45: Click show credentials to display, your client ID, and Secret.
02:49: Click here to copy the client ID
02:52: Switch back to the Agra chain platform to enter your QuickBooks credentials.
02:57: Click the Client ID field and enter your client ID here.
03:01: Switch to developer.intuit.com to copy your client secret.
03:06: Click here to copy your client secret for secure authentication.
03:10: Switch back to Agrichain to enter the client secret. Click the Client Secret field and input your QuickBooks client secret.
03:17: Click update secrets to save your client ID, and secret securely.
03:23: Click the Connect QuickBooks button to authenticate and link your QuickBooks account.
03:28: You will be redirected to the QuickBooks login and authentication popup.
03:33: Choose your company and continue with the authentication process. Here, you’ll see a Search Company dropdown because I’ve added two companies to my QuickBooks account.
03:42: If you have only one company, it will be displayed directly for selection.
03:47: I am selecting AgriChain, the company I created on QuickBooks.
03:52: Click next to continue the connection process.
03:55: Click connect to authorize agrichain to access your Quickbooks data.
04:00: Switch back to the Agra chain platform where you'll see that the integration has been completed successfully.
04:06: This is indicated by the unlink Account button. Confirming that your QuickBooks account is now linked with your Agri chain account.
04:13: This demo demonstrated, how to seamlessly integrate, QuickBooks with the agrichain platform enabling efficient, invoice management, and streamlined Financial workflows.
04:23: Get started today by connecting your accounts to enhance your business operations.
00:00: Welcome! In this video, we will walk through how to create and manage QuickBooks product and service mappings within the AgriChain platform.
00:08: You’ll see how AgriChain makes it easy to link your sales, purchases, and deductions to QuickBooks products, helping streamline your accounting process.
00:17: Click the profile section to begin. Configuring your account settings.
00:22: Click the Integrations tab to view available, third-party connections.
00:27: Click QuickBooks to access the integration settings and create the required mappings
00:32: Clicks sale contract to manage mappings related to your sales agreements.
00:37: To create a new mapping, you need to click on the "Add Mapping" button.
00:41: As you are present under the Sales Contract section the transaction type will be selected by default as Sales contract
00:48: Click on the Commodities dropdown to select the commodity for which you want to create the mapping
00:54: Click the Grades dropdown to select a grade classification for the commodity if needed.
00:59: This step is optional.
01:01: Click the Seasons dropdown to specify the season for the commodity, if needed.
01:06: This step is optional
01:08: Click the Sites dropdown to select the sites for mapping sales from specific locations for the chosen commodity, if needed.
01:15: This step is optional.
01:17: Click the Accounts dropdown to select the business account to which the commodity sales should be mapped, if needed.
01:23: This step is optional.
01:26: Click item types to select the specific category to map the transaction.
01:30: Such as Freight movement, carry charges custom, items blending fees application.
01:37: I am selecting Freight Movement for this mapping. So that all the freight movements related to the above-selected commodity will be mapped against the product/service i select
01:47: Click QuickBooks product, service to view the list of products services available on QuickBooks.
01:53: Select the appropriate product service to which the above condition will be mapped.
01:59: I am selecting Sales (Service) for now which is available under list of my quickbooks product and services.
02:05: You can select any from your list.
02:08: Click the Create button to save the mapping configuration.
02:12: Similarly, you can create mappings in the Warehouse section to map storage fees and inload/outload fees for third-party stocks stored at your site.
02:21: Suppose you want to map any deductions included in commodity invoices to a specific product or service in QuickBooks.
02:28: In that case, you can create a similar mapping in the Deductions section by selecting the item type as Grain Levy.
02:35: Now, let’s see how these configured mappings appear on the invoice.
02:39: To continue, we will navigate to an invoice which I have already created.
02:45: You'll see list of invoices created in the active invoice section
02:49: Click on the Invoice record to navigate to the invoice details page
02:54: Click on "Create" to create an invoice in QuickBooks
02:58: You can see that the QuickBooks product or service is automatically selected based on the configuration we set.
03:04: You can also manually change the product or service using the dropdown.
03:09: Click the “Open in QuickBooks” link to view the invoice directly on the QuickBooks platform.
03:16: You will be redirected to the invoice details page on QuickBooks, where you can see that all invoice information is populated correctly, including the configured products and services and grain levies as applicable.
03:28: This demo highlights how agrichain streamlines the creation and management of QuickBooks product and service mappings.
03:34: You can efficiently, link sales, contracts and deductions to QuickBooks and your accounting workflow.
03:41: Start integrating today to simplify your financial processes.
Related Article