Introduction
In AgriChain, warehouse invoicing is the process of charging growers, traders, or any party that stores stock in a Bulk Handling Company (BHC) site. If the BHC has configured applicable fees such as storage fees, inload fees, and outload fees it has the authority to raise invoices against the stock held.
Invoices can be generated on a monthly or weekly tenure, depending on the business arrangement. Each invoice may include:
Storage fees: Storing of grains remaining in the warehouse.
Inload and Outload fees: Movement of stock into or out of the warehouse.
Transfer Fees: Title transfers on behalf of growers to buyers
Steps to generate a Warehouse Invoice:
Always ensure that warehouse invoices are raised accurately by confirming that the correct storage fee, inload and outload fees are set up for the relevant commodity, season, and tenure. For detailed steps on configuring these fees, please refer to the related article.Method 1 – Generating Warehouse Invoice Manually
- Log in to AgriChain using your credentials.
- Navigate to the Invoice module from the left-hand side menu.
- Click on the green +Generate Invoices and select 'Warehouse Invoice'
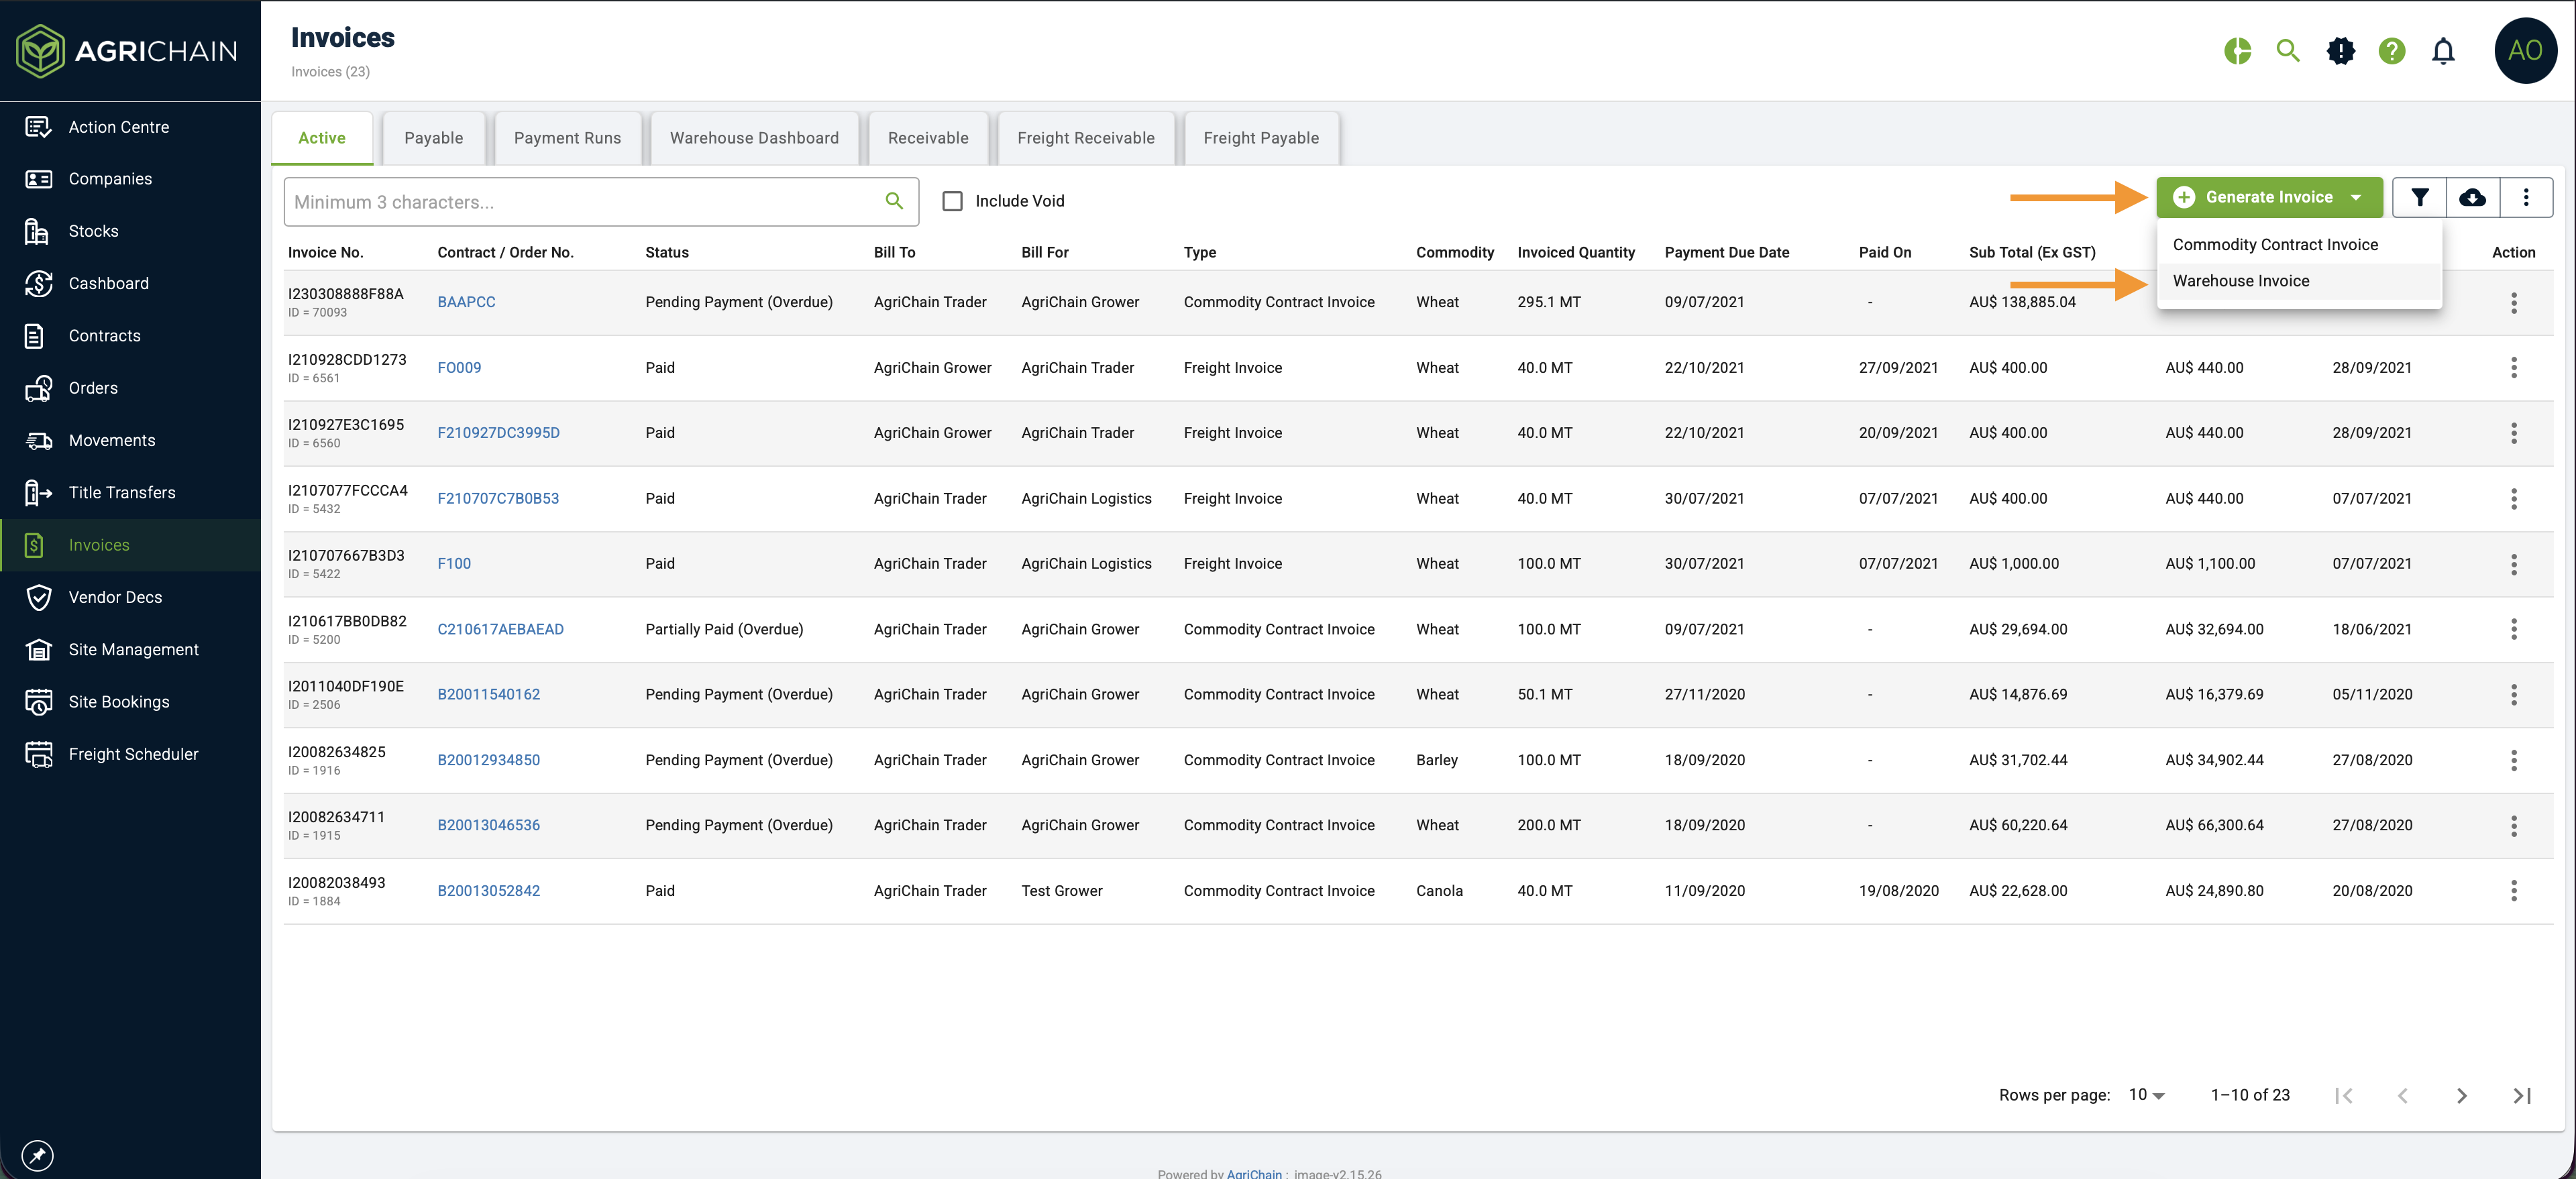
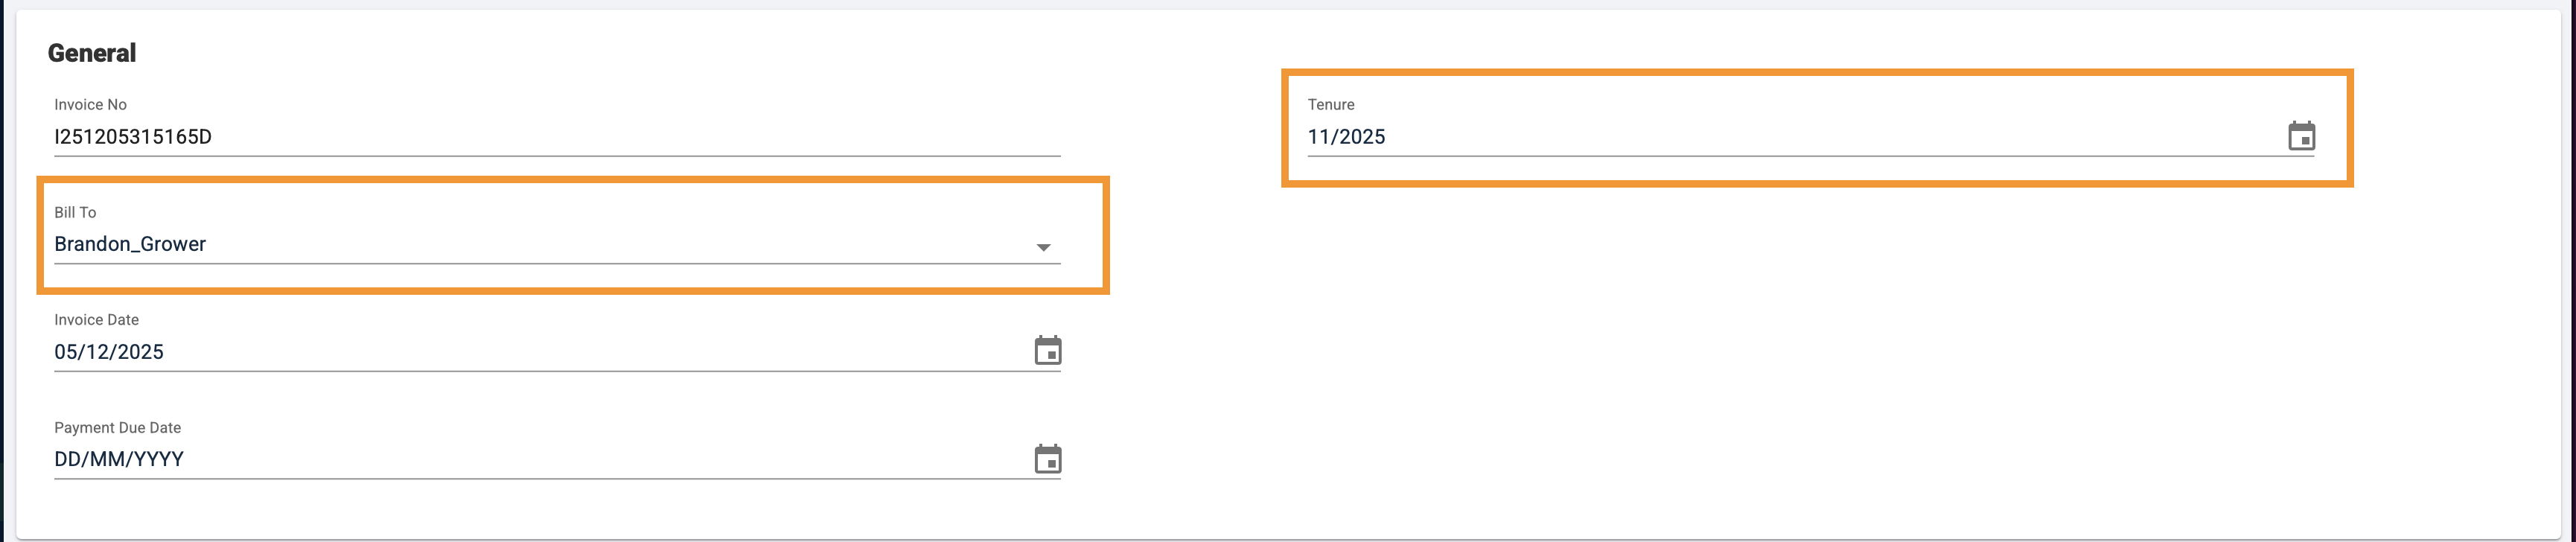
- Enter the party you would like to invoice, the tenure (monthly or weekly), and payment due dates.
- The system will then retrieve all of the fees applicable that are ready to be invoiced. You can review the invoiced items or make any adjustments using the 'Custom Item' button.
- Once confirmed, click 'Continue and Review' at the bottom of the page.
- Click “Submit” to confirm.
- You will be prompted to notify counterparties by email.
- Select the relevant parties and click “Send Now”, or choose “I’ll Do It Later” if no email is needed.
- Select the relevant parties and click “Send Now”, or choose “I’ll Do It Later” if no email is needed.
Method 2 – From the Warehouse Dashboard
- Log in to AgriChain using your credentials.
- Navigate to the Invoice module from the left-hand side menu.
- Click on the 'Warehouse Dashboard' tab.
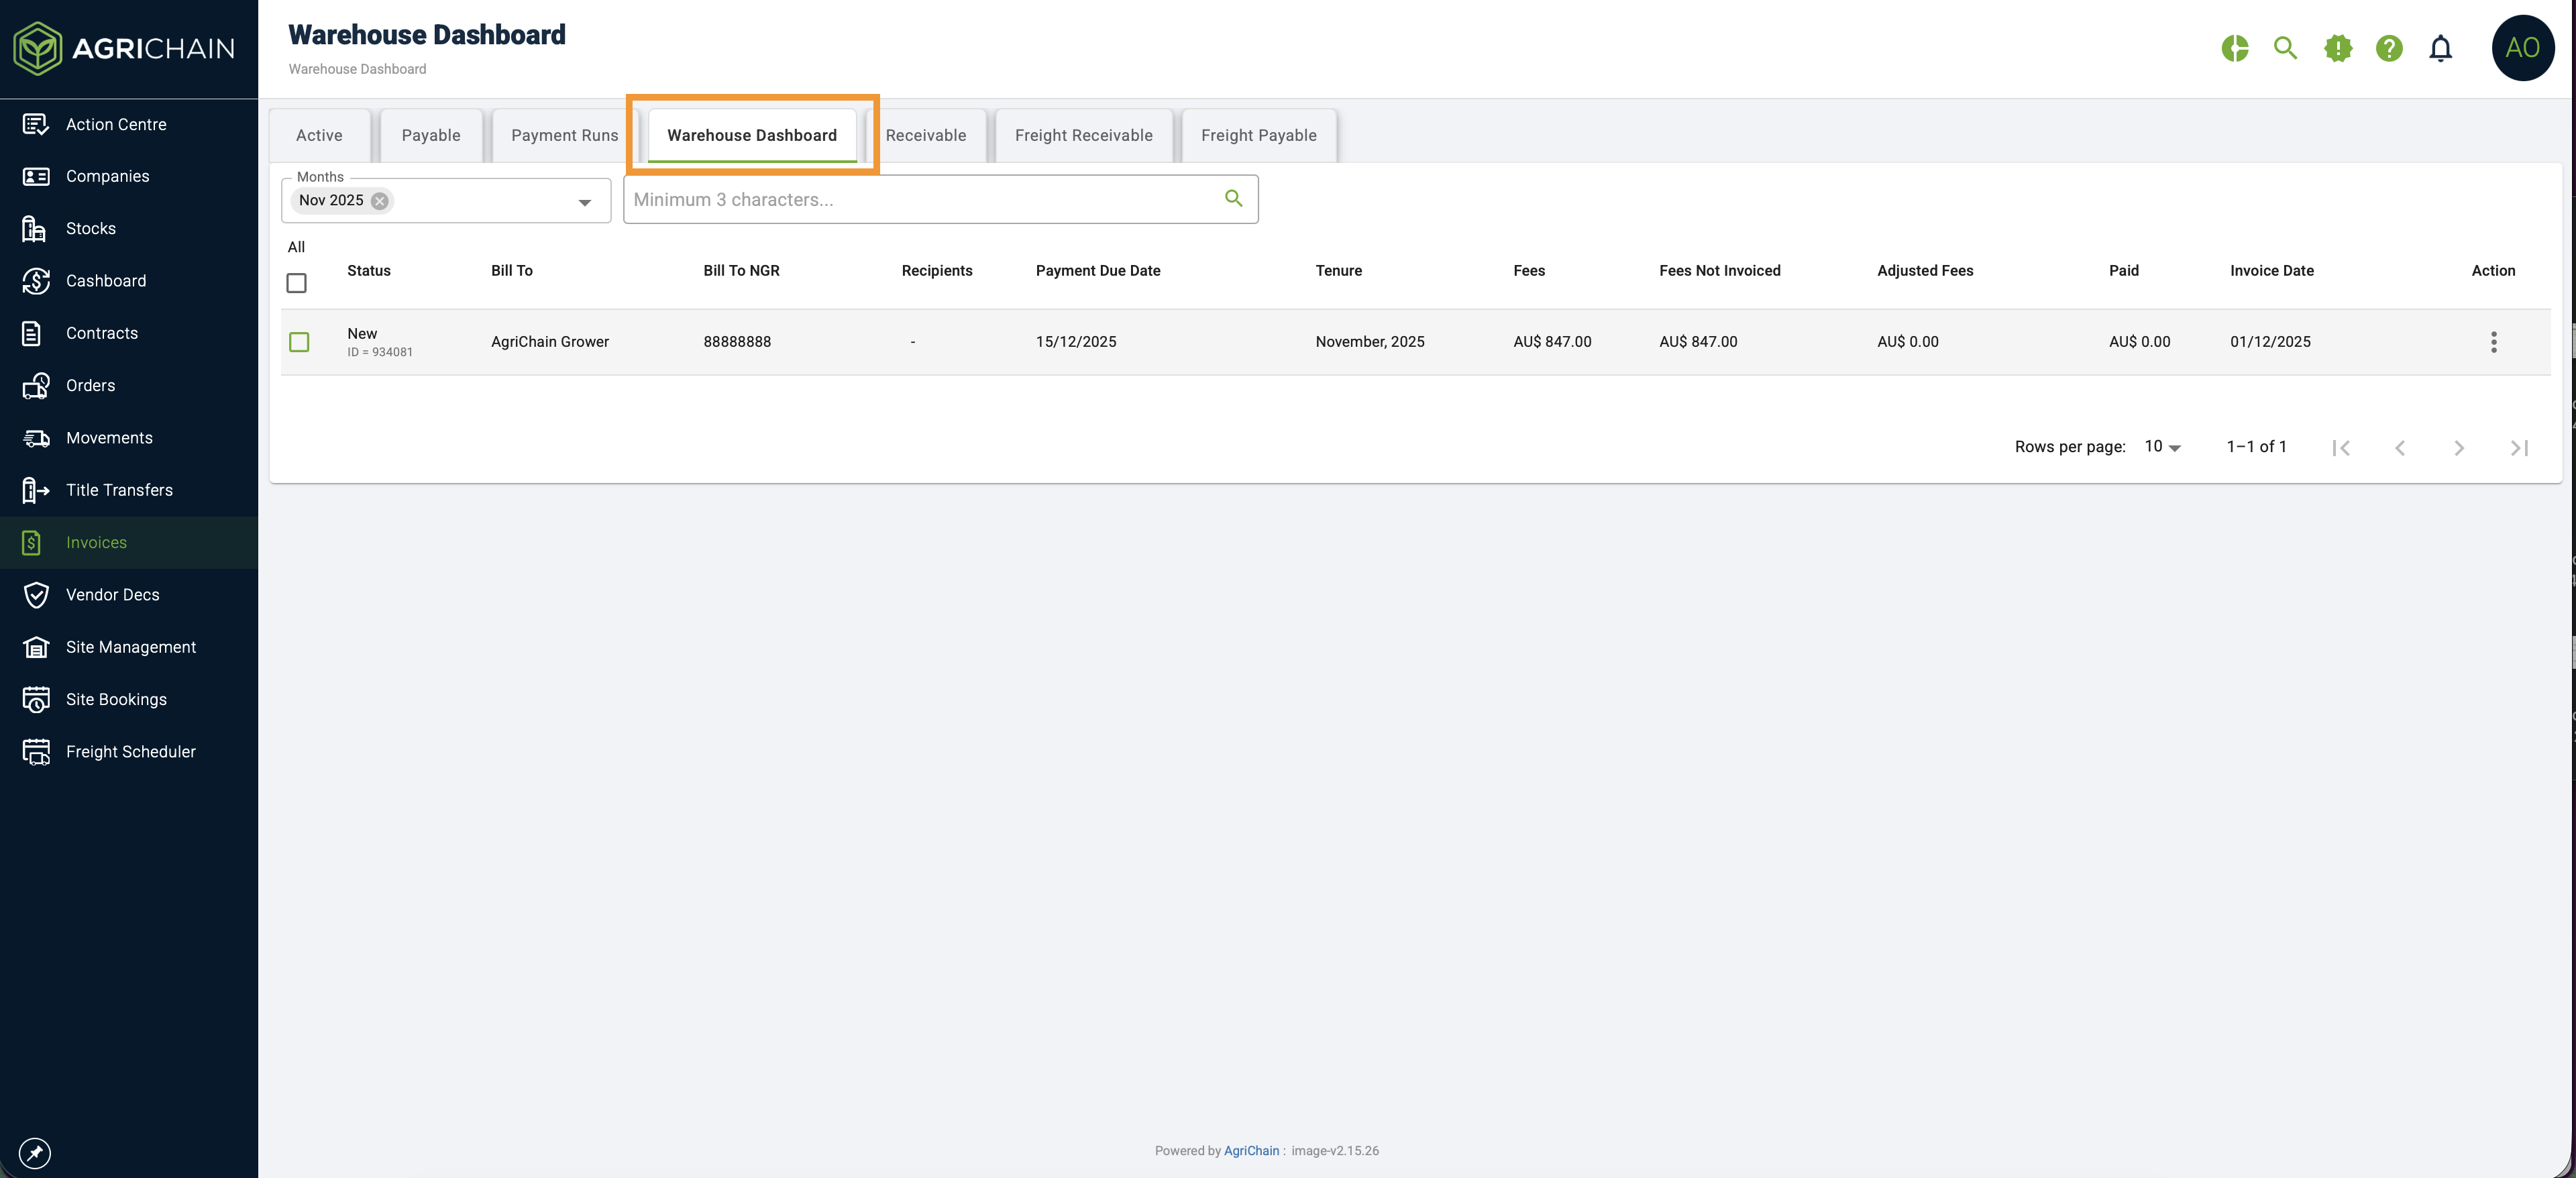
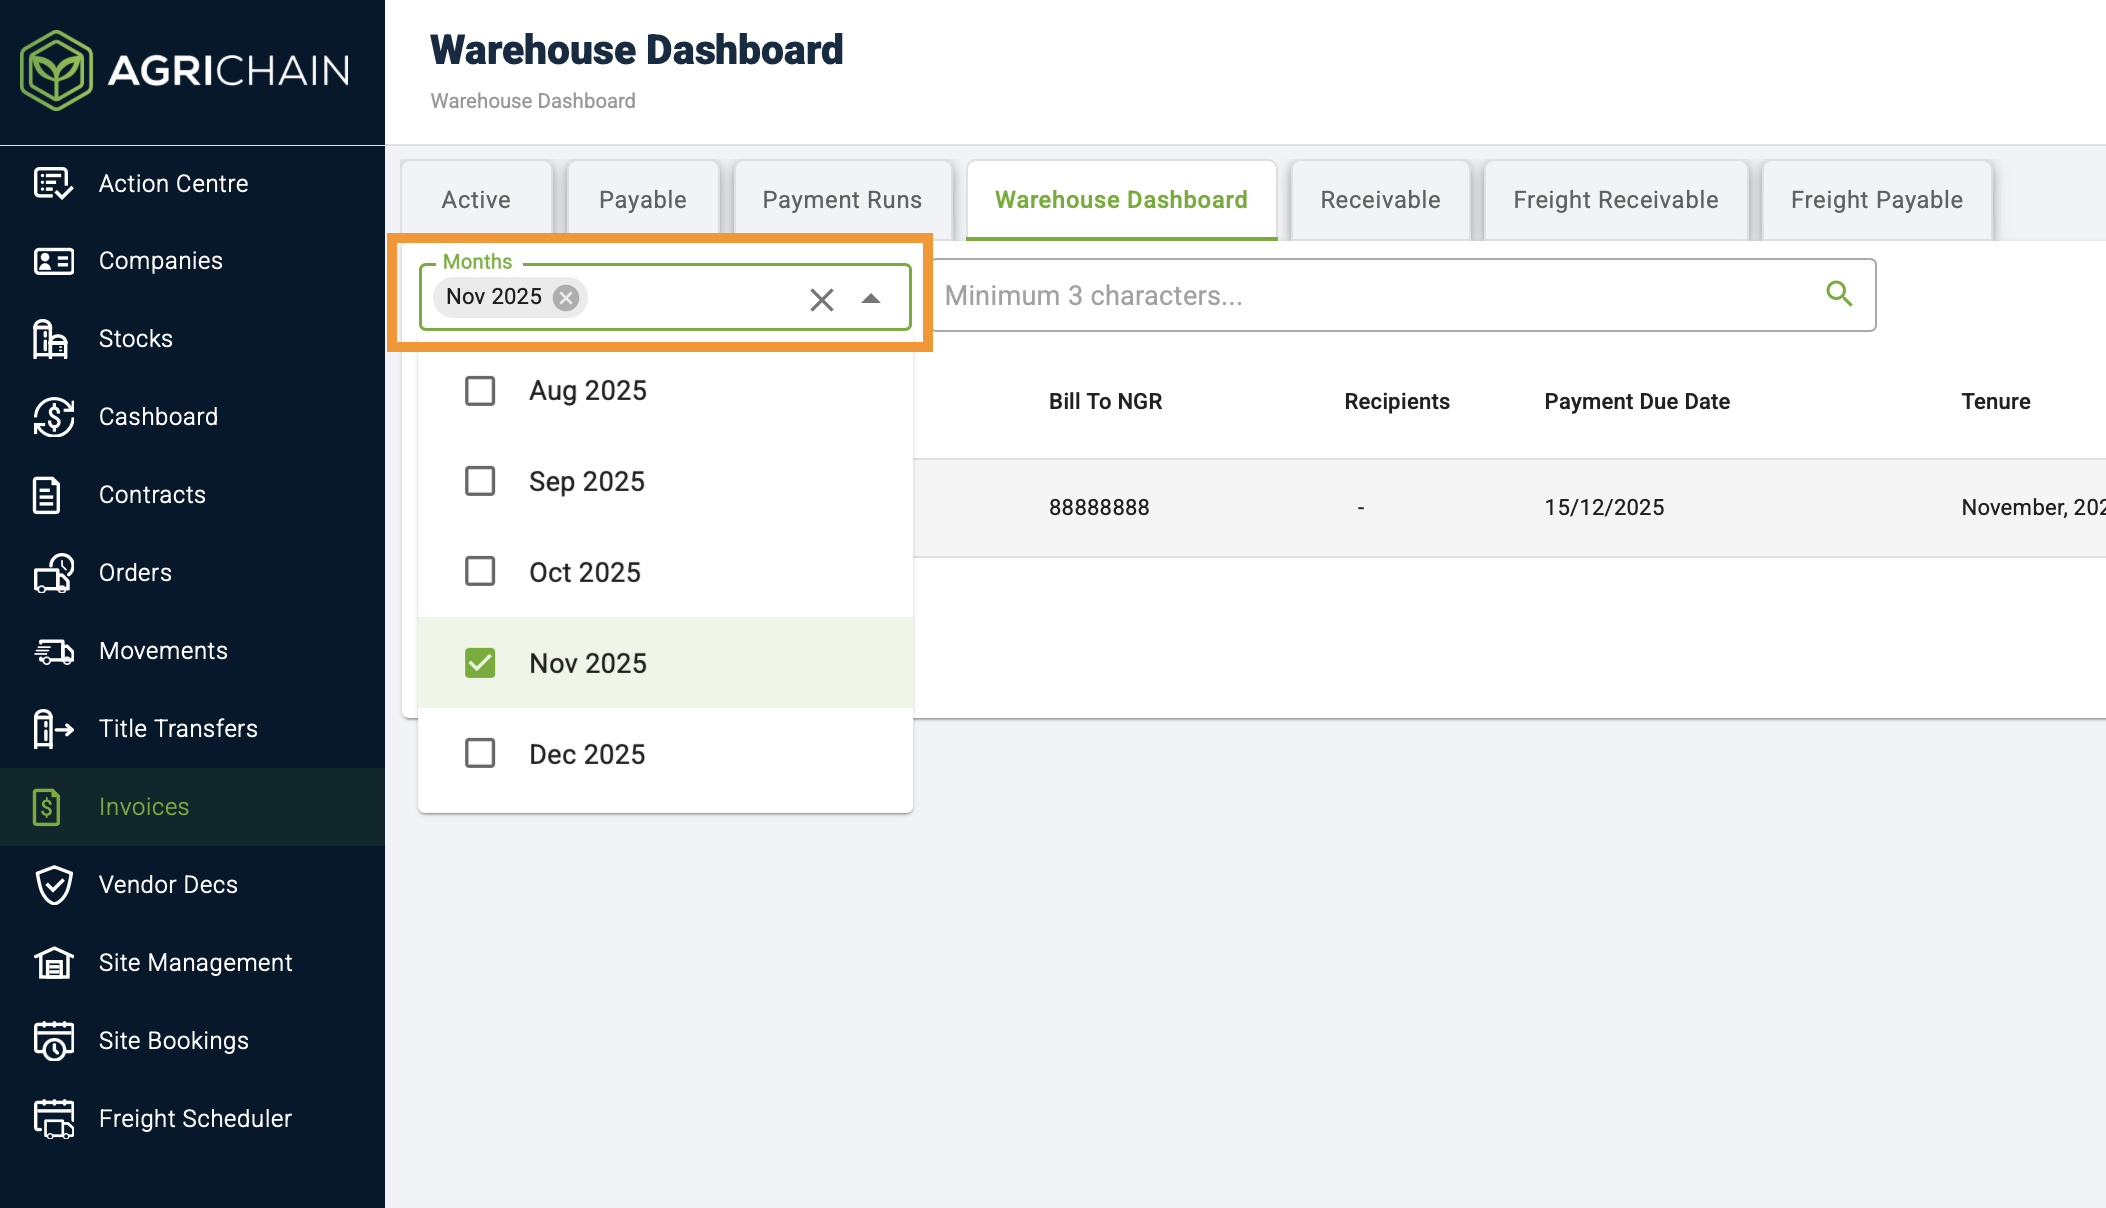
- In this tab, the system will display all items ready to be invoiced for the specific tenure, segregated by customer. You may update the tenure by clicking on the 'Months' or 'Weeks' field as required
- To invoice your customers, please tick the checkboxes next to their name and click on the 'Action Selected Invoices'
- In the 'Action Selected Invoices' field, you can:
- Create the invoice without sending out email notifications.
- Create the invoice and send out email notifications.
- Update payment due dates.

Was this article helpful?
That’s Great!
Thank you for your feedback
Sorry! We couldn't be helpful
Thank you for your feedback
Feedback sent
We appreciate your effort and will try to fix the article